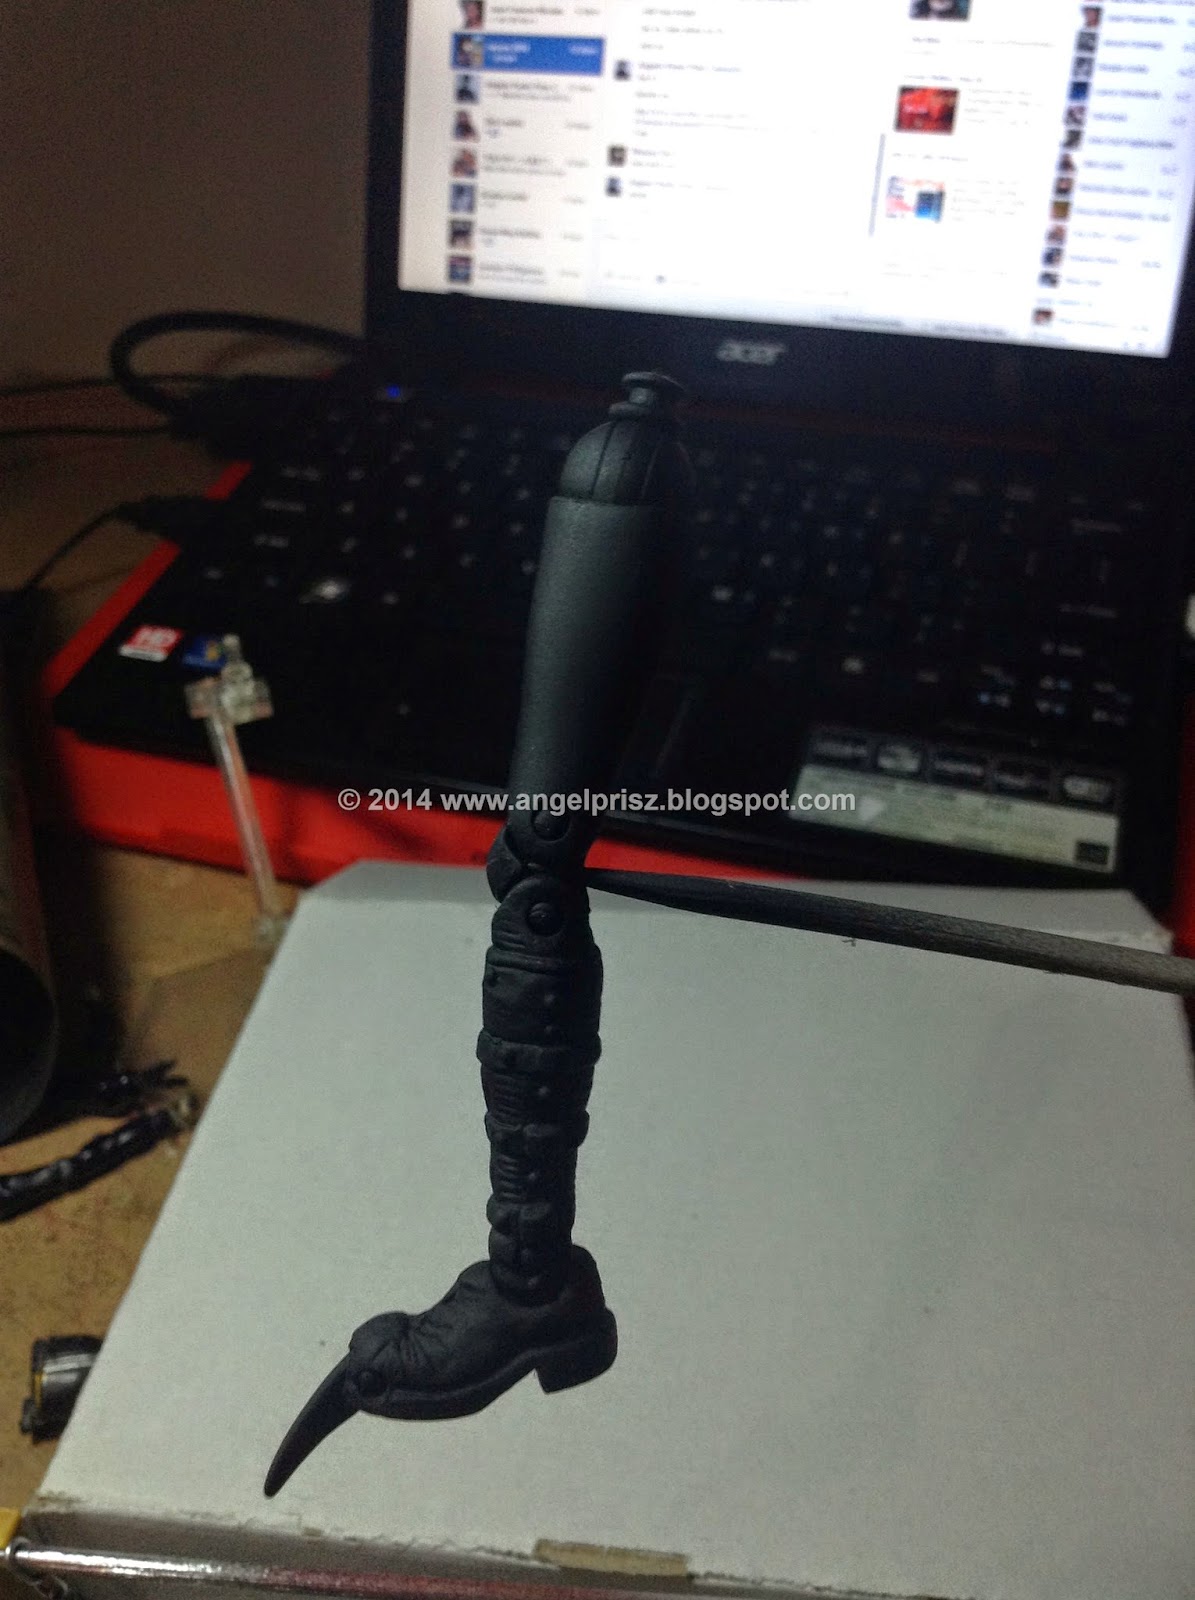
So, I haven't stop and won't stop! Until I finally learned the ways
of those professional customizers. This will be my third try and yes I did focus on
building my own X-Force team. The first two I created was X-Foce X23 - the first one as
see over this link
which was created during a storm and the second one
can be seen over this link
which was created out of pure interest.
And for my third try I'll be recolouring the old Marvel Legend Psylocke
to turn into her X-Force uniform. I was actually thinking of the Marvel now Psylocke but I lack information about it so
the X-Force Uniform has to push through.
Showing posts with label xforce. Show all posts
Thursday, September 11, 2014
Wednesday, August 20, 2014
Marvel Legends - Epic Heroes - Deadpool - X-Force Variant
Another loose figure I bought together with Lord Thor is Wade Winston Wilson or probably much famously known as Deadpool - Chimichanga!
Deadpool - a product of the Weapon X Program, a mercenary and anti-hero appearing in various comic books and various teams
in the Marvel Universe. Deadpool has been one of my favorite not because he is a ruthless killing machine who doesn't die but it's
because he is too funny to boot! The later versions of Deadpool who talks to himself as always been so entertaining.
Just for you guys to know, In my research I might be wrong - there are 4 existing variants of Deadpool in the Marvel Legends line
that was released in the market. Let me list them for you where the last would be the most pricey. Again I might have some mistakes
but please do correct me by commenting on this post. Thanks~
This Deadpool - The details was accurate as ever although if it does miss one detail it remains unnoticeable. The articulation came in almost every part of his body. One thing though, he can't hold his Katanas.
Well, so far - everything about Deadpool has always been awesome. Hope someday I will be able to find a Series 6 Deadpool. "If you don'y know Deadpool, You don't know awesome!"
- Return of the Marvel Legends X-Force Deadpool - original variant - Grey and Black - X-Force Uniform.
- Marvel Legends Twin Pack Bluepool - same sculpt as the X-Force Deadpool but coloured in Yellow and Blue. Partnered with Warpath (Twin Pack also came in with a variant Redpool)
- Return of the Marvel Legends Redpool - Variant. - Original Colour scheme, Red and Black.
- Marvel Legends Series 6 by Toybiz - Deadpool [Red]
This Deadpool - The details was accurate as ever although if it does miss one detail it remains unnoticeable. The articulation came in almost every part of his body. One thing though, he can't hold his Katanas.
Well, so far - everything about Deadpool has always been awesome. Hope someday I will be able to find a Series 6 Deadpool. "If you don'y know Deadpool, You don't know awesome!"
Sunday, August 10, 2014
Marvel Legends X-Force X23 Custom Figure by prisz ver. 2
Prior to my previous post and another attempt to learn and create my own custom toy, here is another version of X23. Well, probably this time it's much more
cleaner and better than the first X23 that I made Can be found here.. To be fair
I'll criticize it far more than how I do on official toys.
First, let us list down the things I used for this project:
Why did I used ML Madame Hydra? At first when I was expecting the figure itself, I found it's design too plain that if you painted in flesh it looks naked. It's sculpt was flatter and no more bumpy parts are need to be remove. Then the Viper figures proportionality was already good and it only cost me half it's srp since it was on sale, I don't even have to look for good conditioned loose figure any more. See the butt part here? Are you getting what I mean?
Well probably most of the thing that I did was just to recolour the whole figure. Then tied some rubber over the boots and gloves to copy X23. Then attached Plaplates on both hands to create the claws. Not much of a work huh? The challenge was modifying it without breaking it apart. Yes, without breaking it apart - I was having a hard time removing the chest part and was afraid to destroy the figure so tapes and blu-taks will have to do to cover up the surfaces.
To be honest, the painting was bad. Details was crappy and the rubber sheets that I used on the Gloves and Boots wears off creating paint chips when scratched. Next, the joints chips down the black parts everytime it was move - the dull black acrylic paint was not a good idea. Then the face lacks the silver detail and red lined chips are visible. Sheesh I really need to practice painting and learn all about paints.
Articulation was still the same though, but since there was a problem in the chipping of the paint in the joint on the knee and ankle, I covered the ankle with the boots design that it now limits the ankles bent capability. And lastly, the claws - I was missing the claw on her foot since I can't find an Idea on how I will integrate it. Then the claw on the hand - notice the right claws are not properly aligned? Well, since I can't make her have a clenched fist I decided my to attached my crappy claws it that position. And since her hands is not even straight, I just though the claws shouldn't be straight either. Failed on the claw huh?
That's much about, so can you help me criticize it as well? So I can create reference on how I can enhance this skill? :)
- ML Madame Hydra (Viper) - this time instead of using the ML X23 which is bad in terms of sculpt I used this one instead which I found was perfect except for the hands.
- Spray Paints - namely platinum, dull black, red acrylic, tamiya flat flesh, primer and flat clears
- Epoxy
- Instant Glue
- pieces of rubbers
- Pla-plates - the one architects use
- a piece of chain
- Blu-tak
Why did I used ML Madame Hydra? At first when I was expecting the figure itself, I found it's design too plain that if you painted in flesh it looks naked. It's sculpt was flatter and no more bumpy parts are need to be remove. Then the Viper figures proportionality was already good and it only cost me half it's srp since it was on sale, I don't even have to look for good conditioned loose figure any more. See the butt part here? Are you getting what I mean?
Well probably most of the thing that I did was just to recolour the whole figure. Then tied some rubber over the boots and gloves to copy X23. Then attached Plaplates on both hands to create the claws. Not much of a work huh? The challenge was modifying it without breaking it apart. Yes, without breaking it apart - I was having a hard time removing the chest part and was afraid to destroy the figure so tapes and blu-taks will have to do to cover up the surfaces.
To be honest, the painting was bad. Details was crappy and the rubber sheets that I used on the Gloves and Boots wears off creating paint chips when scratched. Next, the joints chips down the black parts everytime it was move - the dull black acrylic paint was not a good idea. Then the face lacks the silver detail and red lined chips are visible. Sheesh I really need to practice painting and learn all about paints.
Articulation was still the same though, but since there was a problem in the chipping of the paint in the joint on the knee and ankle, I covered the ankle with the boots design that it now limits the ankles bent capability. And lastly, the claws - I was missing the claw on her foot since I can't find an Idea on how I will integrate it. Then the claw on the hand - notice the right claws are not properly aligned? Well, since I can't make her have a clenched fist I decided my to attached my crappy claws it that position. And since her hands is not even straight, I just though the claws shouldn't be straight either. Failed on the claw huh?
That's much about, so can you help me criticize it as well? So I can create reference on how I can enhance this skill? :)
Tuesday, July 29, 2014
X-Force X23 Custom Figure by prisz
Last Storm hit my country I was so worried because my Girlfriend was stuck over her office. And since I can't sleep I decided to grab some of my toys and build a custom one.
So what I thought is since Toybiz Marvel Legends X23 are so bad, why create my own? Well probably Hasbro Marvel Legends are already planning to create their own X23 since they are
about release a new Scarlet Witch as seen on this years SDCC. So, first let me write down the things I will be using for this project, by the way this was a one day project.
- Toybiz Marvel legends X23 - Apocalypse BAF - Black Variant - it's loose
- Figma Black Rock Shooter [Bootleg] - it's broken anyway
- Kelly's Epoxy
- Super Glue
- Tamiya Flat Flesh Spray Paint
- RJ London Dull Black
- Some Old Rubber for the belt
- Mr. Hobby Red for some linings
- Sticks
- RJ London Primer
First comes first, find a pattern for your figure. I didn't get it right so I can call this as my own version of X23. Then disassembling the figures
and the hardest was disassembling X23 since the torso was heat glued so no choice but to totally break some part. Then since the Bootleg
figma was already broken It was easier to disassemble.
It was originally planned to use the BRS body but since It was too petite to use for an ML the plan changed. So the only part I will be getting in the figma are the hands and the ab part.
The Ab part was small though, epoxy comes in over to make them fit the ML body and the old chest of the figure.
Then I will be using the same hair but I will be adding a part from the figma to serve as X23 bangs.
Then testing it over if it would fit the same torso.
Then a mold over the chest to make her breast bigger, and yes It was overly big. I failed in Proportionality and failed to make the butt bigger since I'll be using the same legs it won't fit.
Then attach everything in a stick for painting.
Leg's recoloured to flat back and silvers.
Claws into platinum silver.
Again the other leg.
Then the hair recoloured to dull black to match with the bangs.
Flat fleshen the head and other skin part.
Including this abs.
Then Fit everything
I haven't glued everything yet until now since I was planning to re-custom and remold everything.
It was already displayed in my cab though. So, this is it my own overly bust X-Force X23. Hands can be replaced with the figma hands since I made it interchangeable.
I still havent fix this problem with it though that she can't stand straight due to her hair and again I failed on the bust.
And also failed over her butt.
She is quite poseable though.
So what do you guys think? Not bad for a first try huh?
It was originally planned to use the BRS body but since It was too petite to use for an ML the plan changed. So the only part I will be getting in the figma are the hands and the ab part.
The Ab part was small though, epoxy comes in over to make them fit the ML body and the old chest of the figure.
Then I will be using the same hair but I will be adding a part from the figma to serve as X23 bangs.
Then testing it over if it would fit the same torso.
Then a mold over the chest to make her breast bigger, and yes It was overly big. I failed in Proportionality and failed to make the butt bigger since I'll be using the same legs it won't fit.
Then attach everything in a stick for painting.
Leg's recoloured to flat back and silvers.
Claws into platinum silver.
Again the other leg.
Then the hair recoloured to dull black to match with the bangs.
Flat fleshen the head and other skin part.
Including this abs.
Then Fit everything
I haven't glued everything yet until now since I was planning to re-custom and remold everything.
It was already displayed in my cab though. So, this is it my own overly bust X-Force X23. Hands can be replaced with the figma hands since I made it interchangeable.
I still havent fix this problem with it though that she can't stand straight due to her hair and again I failed on the bust.
And also failed over her butt.
She is quite poseable though.
So what do you guys think? Not bad for a first try huh?
Subscribe to:
Posts (Atom)
Top Ten of the Week
Nuffnang
The simple life of collecting toys, playing games and watching anime - creating our own meaning of the word "OTAKU" - Otaku and Proud!